
How to Pair Magnetek Flex EX2 Transmitters
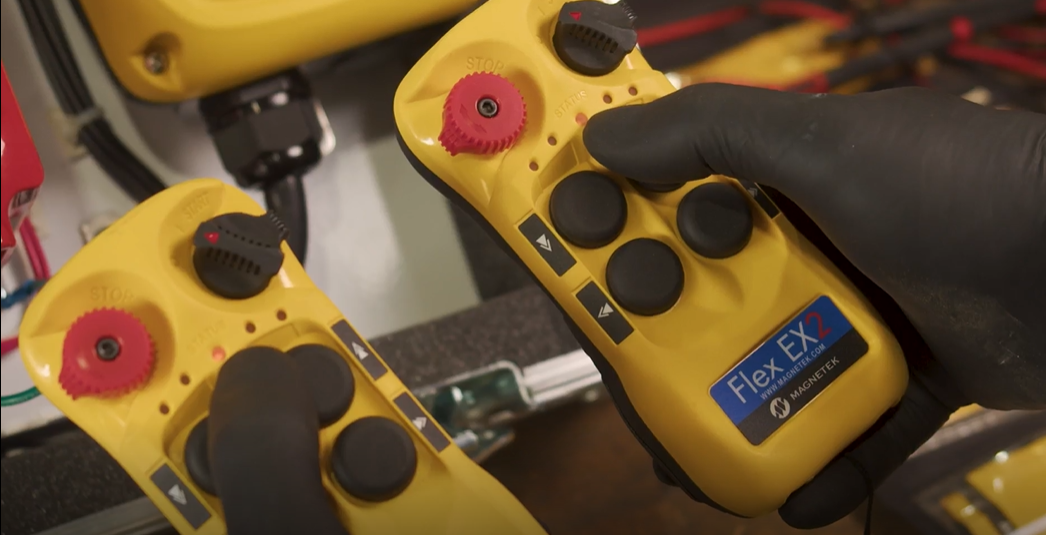
This practical guide will teach you how to pair Magnetek Flex EX2 transmitters.
If you’re using the Magnetek Flex EX2 system and need to pair transmitters—either to transfer settings between remotes or to connect a transmitter to a receiver—follow these step-by-step instructions. These procedures are especially helpful if you’re replacing a transmitter or programming a spare.
What Tools You’ll Need
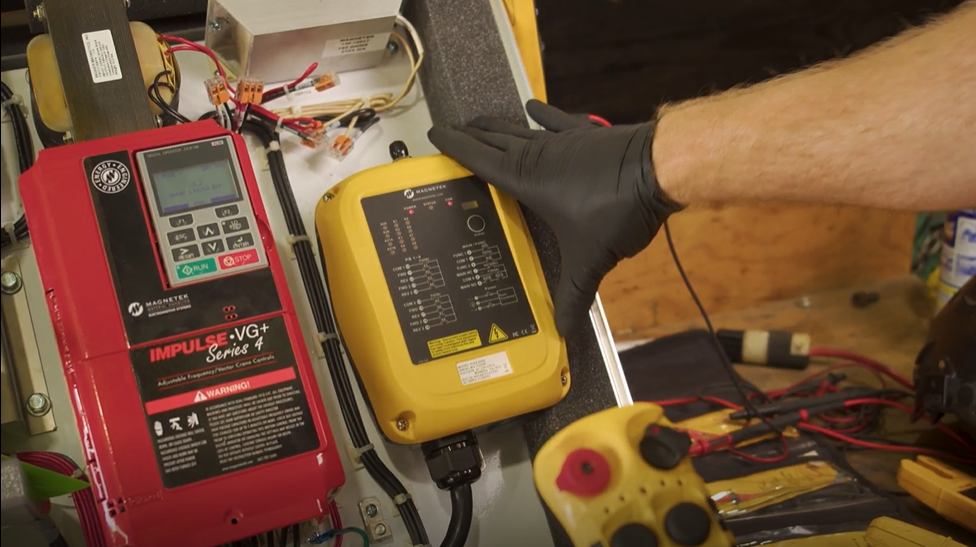
- One Flex EX2 transmitter and one receiver (for transmitter-to-receiver pairing)
- Two Flex EX2 transmitters (for transmitter-to-transmitter pairing)
- Access to the receiver’s control box (for receiver pairing)
- Basic familiarity with Flex EX2 button layout
How to Pair a Transmitter to a Receiver
Transcript
Intro: What This Flex EX2 Pairing Tutorial Covers
– Hello, my name’s John Stelman. I’m with Mazzella Companies. In this little tutorial we’ll show you how to pair this with your receiver, Magnetek Flex EX2 system, that is not paired to our receiver.
When Do You Need to Pair a Spare Flex EX2 Transmitter?
You know, if you ever lose your transmitter, this is an easy way to, if you have a spare transmitter, to program it to your receiver.
Step 1: Pull Out E-Stop Button and Power Transmitter Off
Always start with the stop switch pulled out and your transmitter off.
Step 2: Hold Buttons 1 and 3 and Power On the Transmitter
With our stop pulled out and our start switch off, we will hold in buttons one and three and turn on our start.
Step 3: Complete Pairing Pressing Receiver and Third Button
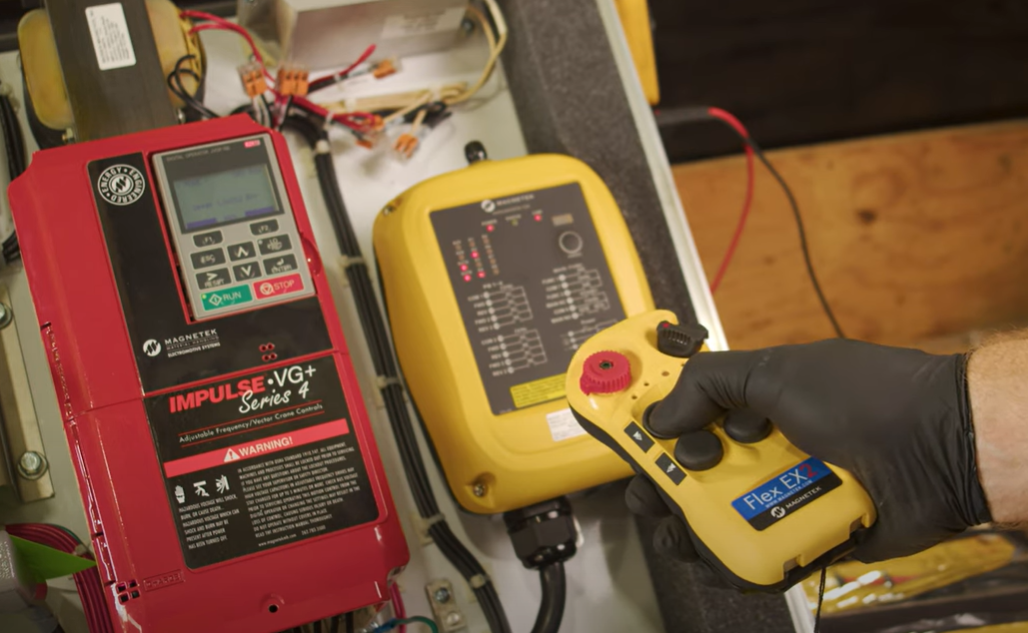
We will release, we’ll get a green flashing light with an orange light with it, and then we will hold both, pairing with our third button, and we’ll get our green status light, and everything should be connected.
Confirming the Transmitter is Successfully Paired
And we should be able to turn it off, and start it back up. And everything works. And all our functions are working.
Wrap-Up: Support and Additional Questions
I hope this information was helpful today. If you have any questions or comments, please let us know. We’re here to help.
Use this when connecting a transmitter that is not currently paired with a receiver.
Steps:
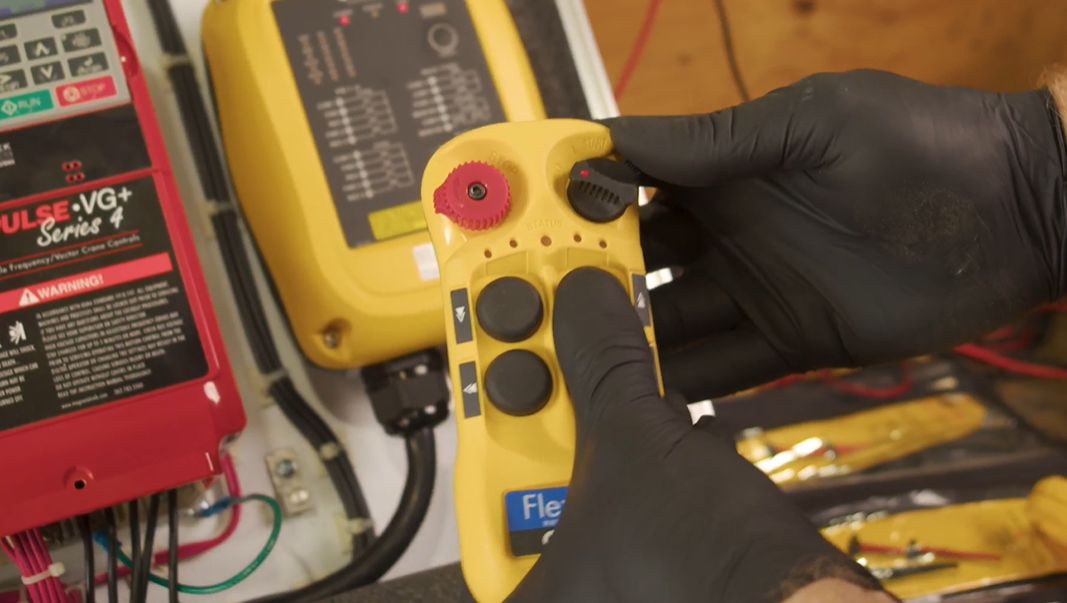
- Pull out the E-Stop on the transmitter and ensure it is powered off.
- Hold buttons 1 and 3, then turn the transmitter on.
- Release the buttons once the transmitter powers on.
- Locate the programming button on the receiver (usually a small button on the board or side panel).
- Press and hold the programming button until the receiver’s light flashes red.
- The transmitter will cycle through red → orange → green lights, indicating it has successfully paired with the receiver.
How to Pair One Transmitter to Another (Cloning)
Transcript
Intro: What This Flex EX2 Pairing Tutorial Covers
Hello, my name’s John Stelman, I’m with Mazzella Companies. Now we’re going to pair this transmitter with this transmitter and transfer information over.
Step 1: Pull Out E-Stop Buttons and Power Transmitters Off
Both E-Stops will be pulled out.
Step 2: Transmitter 1: Hold Buttons 1 and 3 and Power On
You’ll start on the first transmitter, and you will hold down one and three and turn it on. You’ll get your status light.
Step 3: Transmitter 2: Hold Buttons 1 and 3 and Power On
And then you’ll come over to your second transmitter. You’ll hold down one and three and turn it on, also.
Step 4: Both Transmitters: Hold Button 3 Simultaneously and Release
And once you have your status lights, you will hold down button three, and release.
Confirming the Transmitter is Successfully Paired
And then you’ll get your red, orange, and green lights saying that you are connected. You’re now paired.
I hope this information was helpful today. If you have any questions or comments, please let us know. We’re here to help.
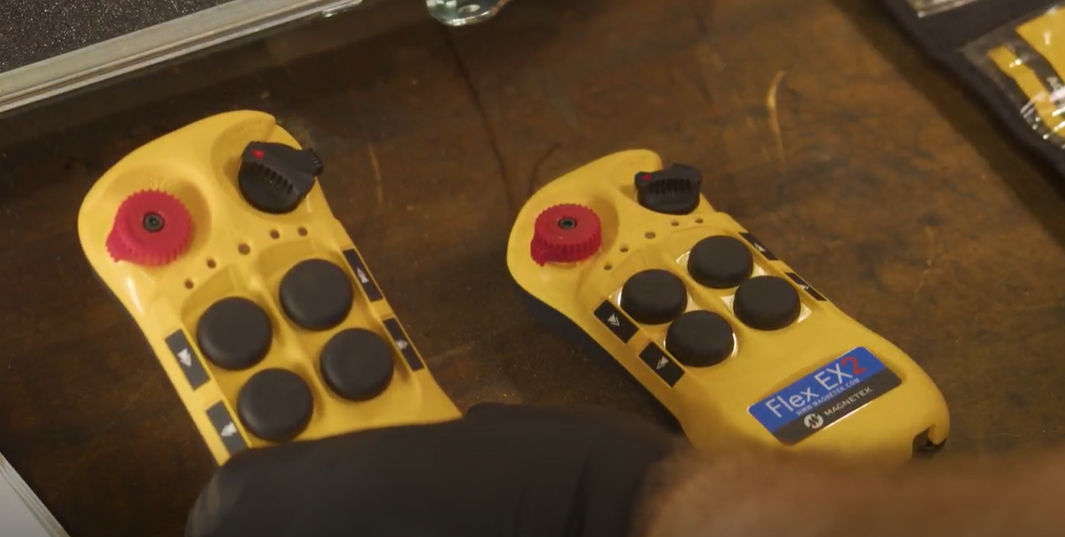
Use this process when transferring settings from one transmitter to another.
Steps:
- Pull out both E-Stop buttons and ensure both transmitters are off.
- On the first (master) transmitter, hold buttons 1 and 3, then turn the transmitter on.
- Wait for the status light to illuminate.
- On the second (new) transmitter, also hold buttons 1 and 3 and turn it on.
- Wait for the status light.
- On the second transmitter, press and release button 3.
- Observe the light sequence: red → orange → green. This confirms a successful pairing.
Final Notes
- Always start with the E-Stop pulled out and transmitter powered off.
- Light sequences provide feedback—red to orange to green confirms pairing.
- Only trained personnel should perform these procedures for safety and compliance.
For more crane service tips and remote programming tutorials, visit the Mazzella Learning Center.

Copyright 2025. Mazzella.